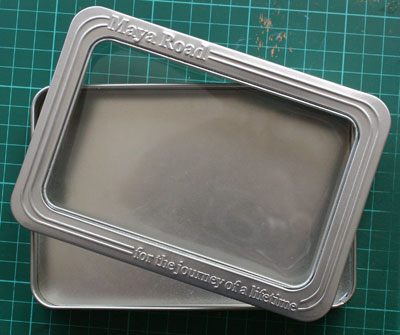
When I got this tin (with the Maya Road chipboard in it), I was not sure if I was more excited about the tin or the chipboard—and that’s saying a lot since I love chipboard. I couldn’t wait to evict the chipboard and start altering the tin. I admit it, I have a serious magpie complex.
I wanted to create a tin where I could keep our momentos from the holiday we took on the continent a few years ago. You know the stuff that just doesn’t fit well in a scrapbook. The stuff that simply makes a page too heavy. The stuff you have a million of and can use in several projects. That’s what this tin was about.
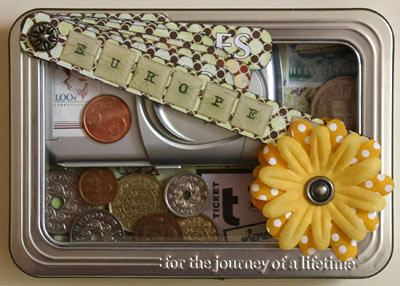
This is the whole thing put together, with all the papers and items in place…. but I’m getting ahead of myself.
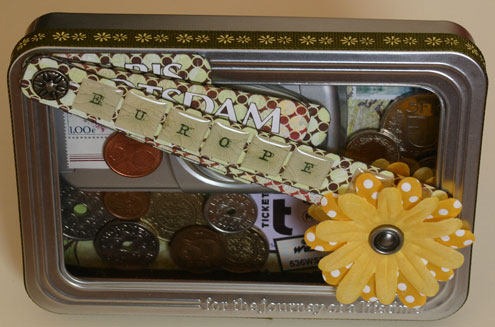
To decorate the tin I taped a piece of ribbon around the outer rim of the lid for decoration. I could have papered the whole thing or painted the tin, but I was worried about the lid being to tight to close or the paint scraping away or chipping. Besides, I really like the look of the dull shine of the metal, and I knew it would work well with the items inside the tin.
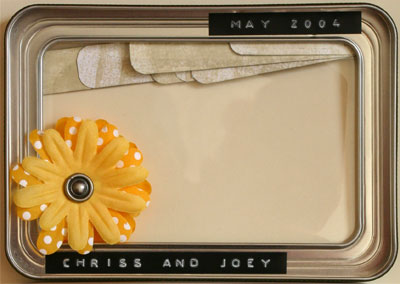
I didn’t actually poke a hole through the lid for the flowers, but rather pushed the brad through the flowers, bent back the prongs and used double sided tape to adhere it to the lid. Nice and simple, and that flower has no intention of moving.
Although I loved the slogan at the bottom of the tin (for the journey of a lifetime) and found it very appropriate for my theme, I didn’t want the ‘Maya Road’ showing itself in the top corner. My solution to create tags, one for each of the cities we visited and a title tag and glue the bottom tag over the ‘Maya Road’. With the exception of that bottom tag, all the other tags move freely.
I coloured the back of the tags with dye ink, although using patterned paper would also have been appropriate. I placed another flower on the interior to cover up the brad back showing through the lid, and used Dymo tape to cover over the embossed name and slogan on the lid. If you have the patience, you might want to cut a piece of patterned paper to fit in that area, but quite frankly that would put me through the roof if I couldn’t get it exactly right. I thought the Dymo solution was far less stressful. :)
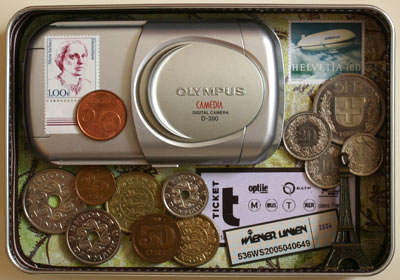
The tin interior was fun to do. First, I lined the bottom with patterned paper, and then lined the sides with ribbon which was equal to the depth of the tin. From there, it’s just a matter of filling the tin! I used the front off my camera which broke while we were on holiday, a few unused leftover postage stamps, some coins, an Eiffel Tower keyfob, and a few various ticket stubs.
I used foam tape to adhere the camera and to pop-up some of the coins to create depth. The keyfob is glued to the ribbon with super strong adhesive to keep it in place, and I matted the tickets to make them stand out a little bit more. If you don’t have a lot of room (and they aren’t your only ticket stubs) you can always cut your tickets down to include only the important bits.
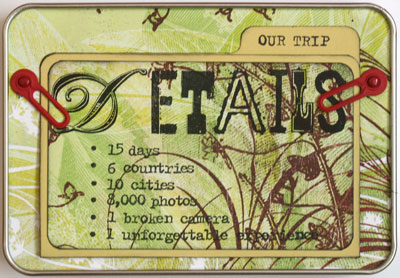
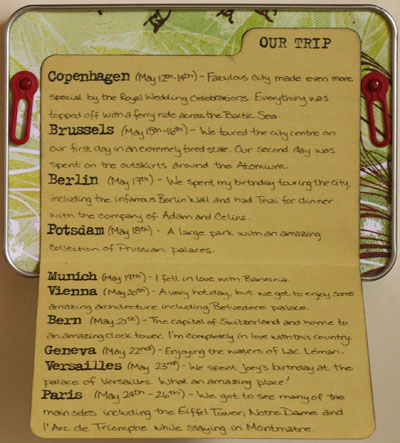
I wanted to include some journalling with the tin, so I decided to create a file folder to write a few brief thoughts. I decided on the size and shape of my file folder, cut my liner piece and attached the photo turns before I adhered the liner to the tin.
I decorated the file folder with the same patterned paper and used stamps to title the folder and emphasize the names of the cities inside the folder.
And this is the finished piece:
Supplies:
Maya Road Chipboard Tin
Basic Grey papers
Doodlebug flower
EK Success epoxy letters
DCWV letter stickers
WorldWin Cardstock
Tim Holtz Distress Ink pads
Making Memories and Bazzill brads
7 gypsies photo turn
Ma Vinci and Technique Tuesday stamps
Ribbon and Dymo
Comments
— Angela Rockett · 8 August 2006, 22:15 · #
Sandy
— Anna Sigga · 10 August 2006, 20:52 · #

