
I love chipboard embellishments. I have two sets of ‘Lil Davis Chipboard Letters, which I love to use, and I’d still like to get my hands on the various chipboard alphabets by Making Memories and Heidi Swapp. I like the idea of taking the raw chipboard letters and painting and sanding them to suit my layout.
However less intricate chipboard embellishments are easy to make yourself—and Allyson Bight’s article shows you how! I can think of lots of shapes I’d love to make, including flowers, bookplates, and tags for starters.
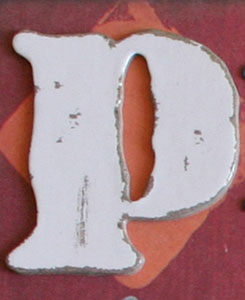
Now going a step beyond this, you can make your own chipboard alphabets. Scraptivity’s article details how to make chipboard alphabets, similar in theme to others on the market. What I love about this idea, is that I can use the plethora of alphabet stamps I already own, and co-ordinate the stamping on both the layout and chipboard!
A couple of additional things of note. First, they mention where to find chipboard, and they give some great ideas, but I’d also offer up the suggestion of trying Grey Board by Daler Rowney from your local art supply shop (it will most likely be in with the mount boards). It comes in A1 sheets (about 60×84cm or 23×33 inches or so), is pH neutral, inexpensive (about £1.40 or so in the UK) and it the same thickness as most of the chipboard stuff on the market (about 2mm thick). This will be a little harder to cut than thinner chipboard, but for basic shapes it shouldn’t be a problem if you use a Stanley knife, and this will give you a nice lumpy embellishment for your pages—- just like the real thing!
In the articles, they mention using UTEE (ultra thick embossing powder) to add a finish, however other options would be liquid embossing (such as Anita’s 3-D clear gloss finish or Diamond Glaze) or using a paint-on or spray-on acrylic varnish (available at most arts or crafts shops—- just make sure it is acrylic, and not ketone based!).
I can’t wait to start creating my own chipboard embellishments!!!