
While designing my journal, I knew that I probably wouldn’t be able to stick to just fabric. Of course, since my theme is writing/letters the addition of paper works really well with my theme—so that’s just what I did with the second leaf of my journal.
I used two pieces of the printed fabric that I posted about yesterday as my background for this technique. As it turned out, I probably wasn’t necessary and I could have simply used the fabric in its original form, but since I didn’t know how much distressing I’d do, I decided to use the printed fabrics.
Ingredients:
- Fabric to use as a base
- Adhesive web such as Bondaweb or WonderUnder
- Felt or fleece (I used some cheap felt)
- Text pages from a book, newspaper or magazine
- Tim Holtz Distress Inks in a variety of brown tones (I used Old Paper, Tea Dye and Vintage Photo) or similar colouring agent such as Walnut Ink or Tea and Coffee
- Iron and Sewing Machine
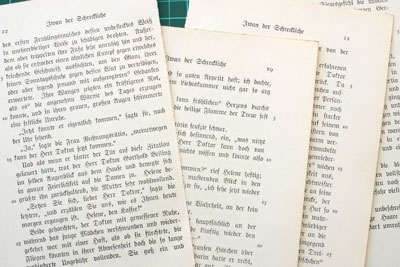
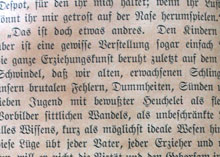
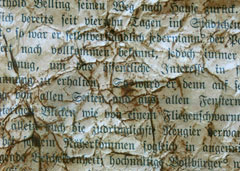
My first step was to distress these papers. I love these. They are from an old German book that is printed in Blackletter that I’m planning to alter.
I used my Distress Ink in Tea Dye and tapped it all over the page (the ink should be visibly wet). I then took a baby wipe and smeared the ink to cover the page. The ink will actually smooth out and dry much lighter than it first appears.
Crumple the papers, taking some caution as to not destroy them, but don’t worry about any small tears as it will just add to the distressed look.
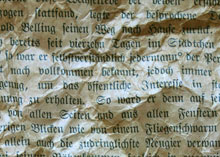
Smooth the pages out slightly and lightly tap some Vintage Photo Distress Ink over the page. Be sure to let the pages dry before preceding to the next step.
While you are waiting for your paper to dry, fuse your fabric to the felt or fleece using the adhesive web according to the package directions. The felt will give the piece a lightly quilted look and help stabilize the fabric while you are sewing.
Once the paper was dry, I cut down my pages so I no longer had a margin around the text and began sewing the vertical lines across the piece essentially quilting the paper to the fabric. Piece the text paper as needed to cover the entire area. Once the entire area is covered, sew perpendicular lines to form a grid. Remember, the grid doesn’t need to be perfect. ;)
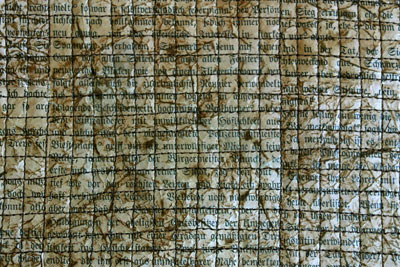
I zigzagged a few random lines on the grid, about 6 in each direction, just to give a bit of effect. Now the fun begins. :) Take the thread and the foot off your sewing maching and turn down the feed dogs and Free Motion Embroider the entire piece—I was sewing with the pedal to the floor and sewing quite tight as if I were doing a granite stitch. The idea is to distress the papers and make them more supple…
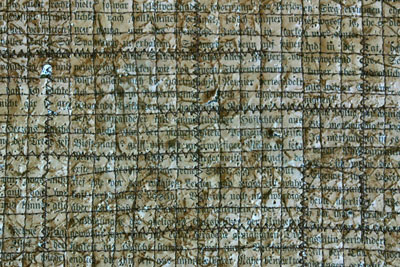
Finally, I scraped across the piece with my fingernails to loosen the paper (you may wish to do this over a bin or outside—definitely don’t do this on a carpet as it creates a lot of mess). Scrape as much or as little as you feel is necessary to create the desired effect. I think lightly inked the papers again with a combination of Old Paper, Vintage Photo, and Tea Dye Distress Inks for a bit more colour.
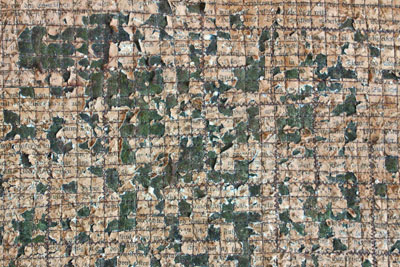
And that’s the top page of the second leaf of my book. Once I finish my sign in page I can sew them back to back and bind the edges.
The inspiration for this piece came from several Maggie Grey Books, including Layers of Stitch (co-written with Valerie Campbell-Harding) and Paper, Metal, Stitch (with Jane Wild). I’ve yet to purchase a Maggie Grey book that I haven’t loved.
Comments
— Dianne · 18 July 2006, 12:00 · #