
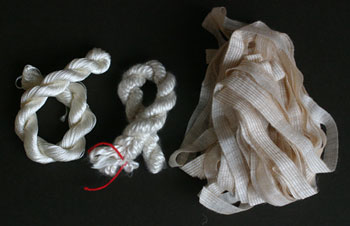
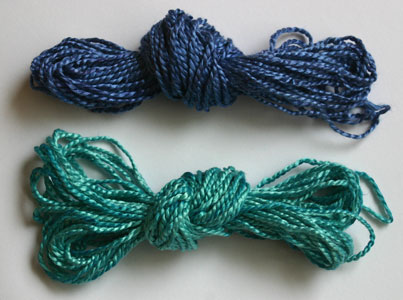
I love dyeing. It’s something I’ve spent many long hours doing, but I don’t have my dyeing equipment with me currently. I wasn’t going to let that stop me from making some customs threads. I started with a few different skeins of threads, including some rayon thread, silk spun and cotton ribbon yarn and used Ranger’s Adirondack ColourWash. I’ve been having a lot of fun with this product ever since I bought it in late summer, it is just so versatile. However, be sure to wear gloves while working with the dye.
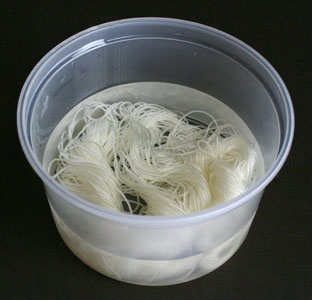
To start, I soaked all my threads. I like to unwind them a bit, just because I paranoid about having white bits left over that haven’t dyed. I usually just use tap water, but if you have hard water you may wish to considered using distilled water, and fill a container with the water, immerse the threads, and let them soak for a couple hours (minimum 30 to 40 minutes). Everything seems to dye better if it’s had a good length of time to soak in water first. I’ve used old salsa and dip containers for this because they are a nice size, but any type of container would work although I personally prefer clear containers so I can see through them.
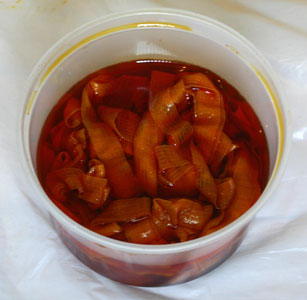
When the fibres have finished soaking, it’s time to create a dye bath. In a separate container, mix some of your ColourWash with a bit of water (if desired). The greater the ratio of dye, the darker the colour will be — straight dye will produce the colour on the package, where as 10 squirts to 1/3 cup of water gave me a lovely light (not pastel) shade. Stir the dye bath. Remove the fibre from the water bath, and give it a gentle squeeze to remove the excess water, and put your fibres in the dye bath, and gently stir. I kept my fibre in the dye bath for a couple of hours, mixing it around occasionally.
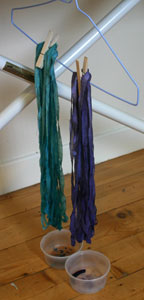
Gently squeeze out a bit of the excess dye and hang your fibre up to dry. I used a clothespeg attached to a hanger and hung them off the ironing board because that was what was handy. Be sure to put something under the fibre to catch the drips. The drying time will vary according to weather conditions, and type and amount of fibre, but I generally leave it at least a good day.
To fix your colour, you can either iron it, use a heat gun on it, or heat it in the cooker, however be aware of the melting point for the particular fibre you are using. Personally I like using the iron. You’ll need to iron you fibres at their correct setting for several minutes. Once the fibre has been heat set, wash the fibre out in water to get rid of any excess dye — I personally like using a little bit of shampoo in the water, but soap/shampoo something that is optional, just make sure that the fibres get well washed. Hang them to dry, and once dried they are ready to use.
I like using the ColourWash dyes because they come in a range of wonderful colours, which can be diluted to produce tints, or combined to create even more colours. They are also so easy to use. If you are dyeing just a small amount of thread, such as to use on a paperarts project, you can simply spray the threads with the colour wash, dry, heat set and wash, but for anything more than a couple of yards, I find the above method works quite well, and I will often dye several colours at once.