
I have a secret to tell. I’ve never plied on a spindle. I wind my singles off my spindle and ply them on a wheel, so I thought I’d share part of that process.
First, we need a few supplies:
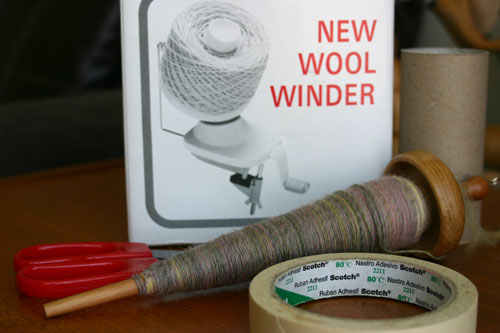
You’ll need a pair of scissors, some tape, a toilet roll liner, a ball/wool winder and your full spindle.
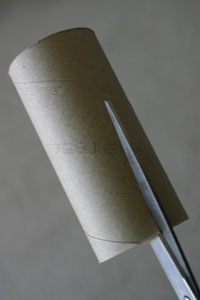
Take the liner and cut it open lengthwise:
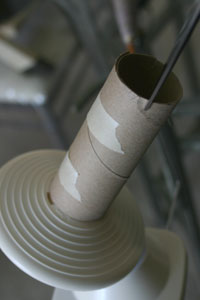
Set up your ball winder and tape the liner so that it fits on the wool winder. You’ll need to tape it on fairly snuggly so that it doesn’t fly off whilst winding but not so tight that you can’t get if off once you are done. Put two little notches at the top of the liner that are opposite each other to enable you to hold and secure the tail of your single:
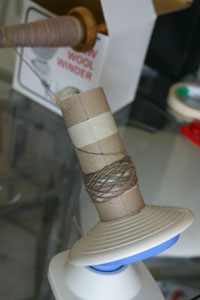
Thread your single through your wool guide and secure it to the liner and start winding your centre pull ball:
To hold my spindle I usually hold the end of the shaft with my hand and place the top of the spindle onto a non-abusive surface. I like the top of my ball winder box:
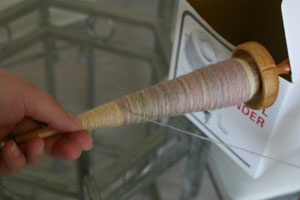
Once I’ve wound off a significant amount of singles I can usually just hand hold the spindle without any support.
Once my singles are wound I tend to label my liners so I know which order I need to ply them. This is useful when navajo plying or when working a larger project so singles can be plied together in a certain order.
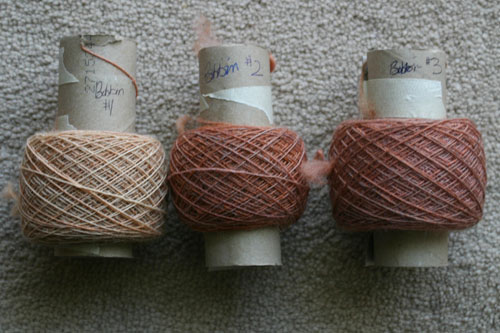
See those three bobbins? That’s the all of the Rice Pudding colourway I blogged about a couple of days ago. They are currently in the plying queue and I’m hoping to have some finished yarn to show next week once it’s been plied and set.
Comments
That’s such a smart idea to cut the rolls and tape them smaller! I’m the muppet who tried to squish them smaller over the ball winder before getting in a horrible tangle and declaring it an Unsolvable Problem. I bow to your superior problem solving abilities and scissor wielding power! :)
— Goldfishgirl · 24 April 2009, 19:15 · #