
Category: Project 365
Articles in the Project 365 category
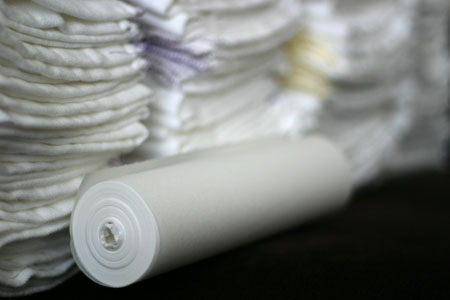
Tuesdays are generally quite busy. Since one of my goals with project 365 is to not only explore my environment but also to capture the everyday, it only makes sense to take photos of what currently is routine. One of those routines is the folding of the nappies. Every Tuesday my lovely nappy lady picks up a week’s worth of dirty nappies and gives me a bucket full of clean nappies. Can’t beat that. :)
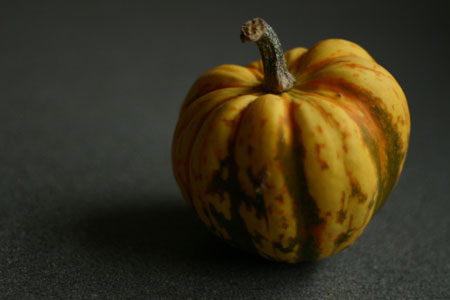
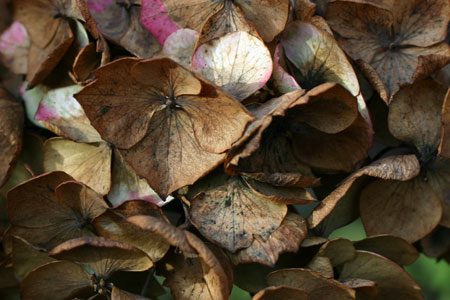
I love squash… especially colourful squash on a grey day.
There was success. Exhaustion finally won out over unfamiliarity, and now that she’s slept in the cot she’s far more likely to go down without a fuss. :)

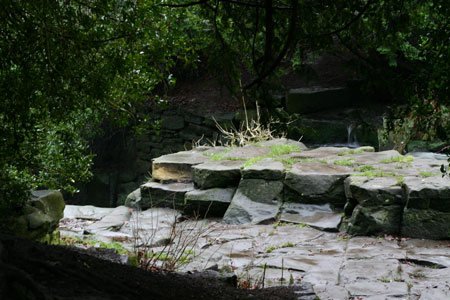
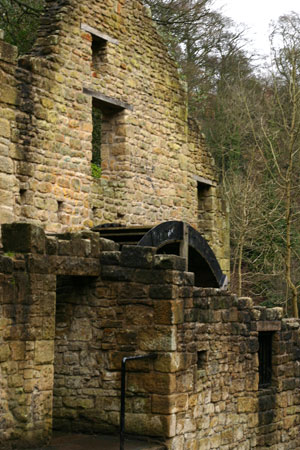
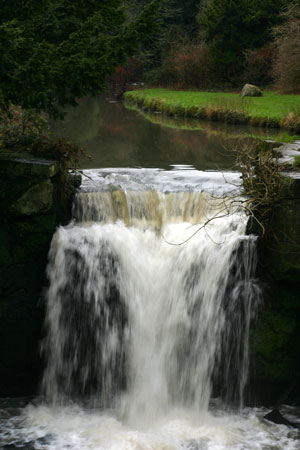
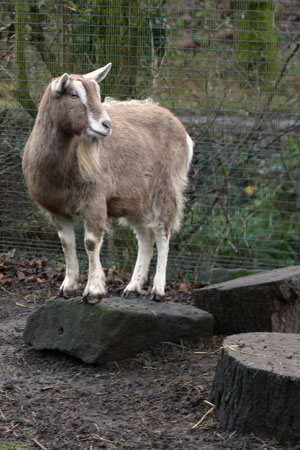
We also went for a walk in the park:
Past the Old Mill:
By the waterfall:
And said hi to the goats:
Hopefully some progress in other areas will happen this week. I’m hope to make some time with fabric and fibre, if the princess allows.
I spent the majority of the day rearranging the little one’s sleeping area as she is moving out of her moses basket and into the full sized cot. We originally tried to put her straight into the cot but she wasn’t having it — and let EVERYONE know it.
I thought today’s photos should commemorate that, so I took a photo of her mobile (which I so tearfully took down when we put her in the basket and made the top of the cot into a change table).
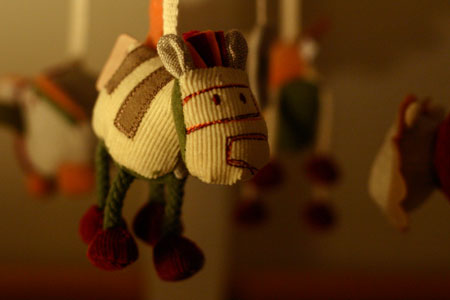
I’m usually not a fan of tungsten light photos. I understand their necessity on occassion, but I never usually purposely take them unless there is a Christmas tree in the photo. However, something about the tungsten light on the mobile just seemed to work and make it all more cozy. Perhaps it evokes the sense of evening slumber?
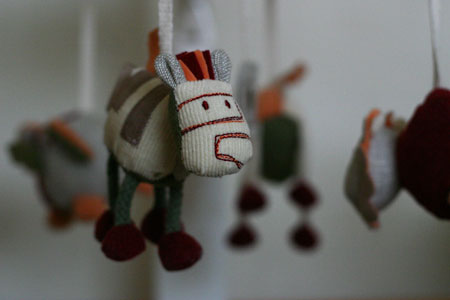
I took one with natural day light as well:
And while Joey was entertaining the little one this morning, I snuck out of the house and took some photos in the car park of dead things:

And a living thing:
The sun was out, so I took the opportunity while it lasted. :)
I came across a 365 challenge over on Karin’s blog Frozen in Time. This week’s theme is Two and I immediately thought of this:
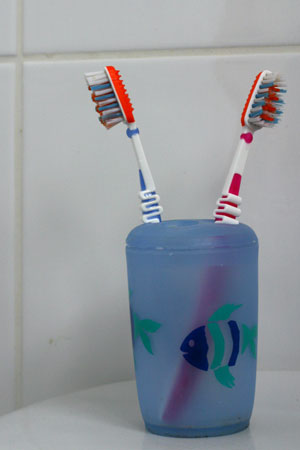
Points for effort, but it comes up a bit short in the style department. But to be honest, given how this day has gone I’m just glad I got a photo for the day. Perhaps I’ll try again. Tomorrow is another day….
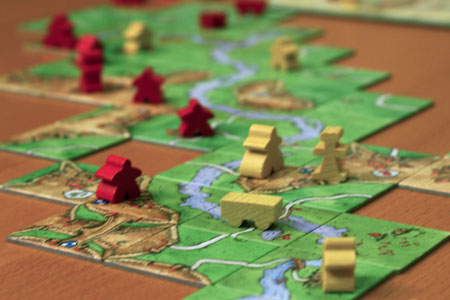
It’s been a rough day so some unwinding was necessary this evening. Carcassonne. Love this game.
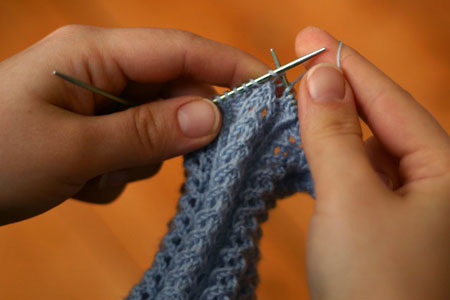
It’s a grey day and I’m starting to feel a little under the weather myself. I plan to sit under my quilt with a hot beverage and knit the day away… and hopefully this blasted cold, too. I’m calling it preventive measures.
...sewing machine, that is. I love this machine. I bought it for £40, it’s older than I am and it’s a total workhorse. I wish it could run at 8000rpm but you can’t have everything, after all it’s only a domestic machine.
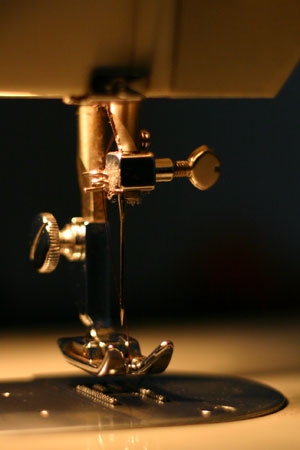
And apparently I really need to dust this puppy.
The little one was well behaved today so I was able to work at the sewing machine while simultaneously backing up my photos. I finished the page I was working on but ran out of light for photographic purposes, so I will have to post it tomorrow.
I got to play today. :)
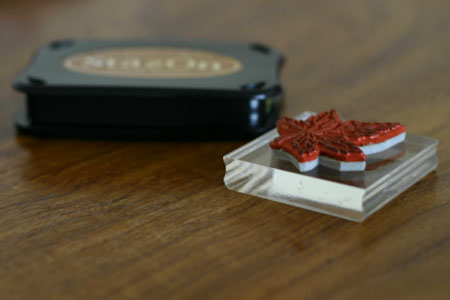
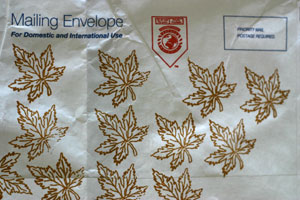
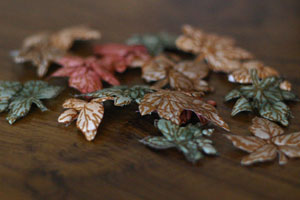
I’m working on some pages for a fiber friend’s book who’s theme is autumn, so I decided a bunch of leaves were in order. I also fancied doing a bit of stamping so I pulled out some Tyvek and my stamping supplies. In this case I’m using some used envelopes from USPS. It’s a bit thinner than the Tyvek you can buy at craft shops, but works about as well in most instances, although it’s easier to burn through the thinner Tyvek.
I used Staz-On to stamp my images. Once everything was stamped I cut them all out.
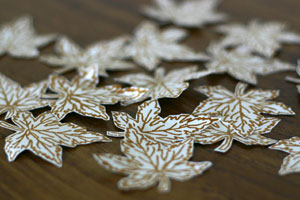
Then I coloured them with some metallic rubons from Craf-T. Any colouring agent will work, the idea is just to get a base colour while the Tyvek is still flat.
Once the base colour was applied, it was time to heat the tyvek. There are various ways to do this including using a heat gun or an iron. I usually opt for the iron. I use somewhere between a cotton and a wool setting, place the Tyvek image side down, place a piece of parchment over the Tyvek and hover the iron over the Tyvek so I’m as close as possible without actually putting weight on it. One note — once Tyvek starts to shrink it does so very quickly.
This is the pile after they were heated:
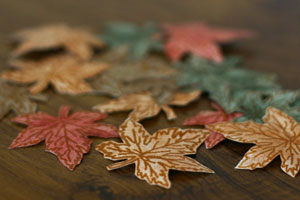
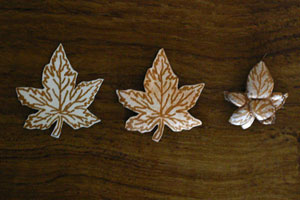
Finally, I applied additional colour to each leaf. In this case I used stamping ink, but again, any colouring agent will work. This shows the before and after:
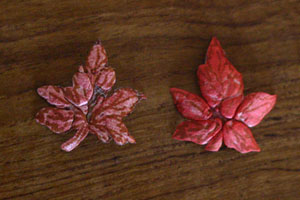
Now I have a bunch of leaves to add to my pages. :)