
I got to play today. :)
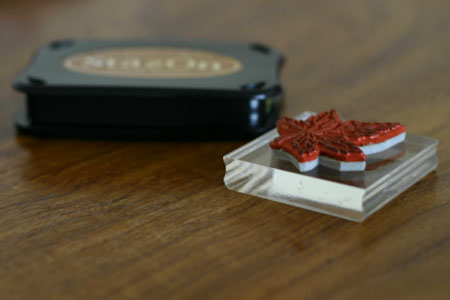
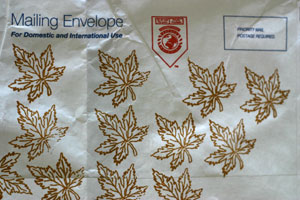
I’m working on some pages for a fiber friend’s book who’s theme is autumn, so I decided a bunch of leaves were in order. I also fancied doing a bit of stamping so I pulled out some Tyvek and my stamping supplies. In this case I’m using some used envelopes from USPS. It’s a bit thinner than the Tyvek you can buy at craft shops, but works about as well in most instances, although it’s easier to burn through the thinner Tyvek.
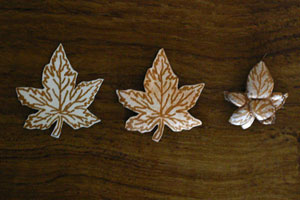
I used Staz-On to stamp my images. Once everything was stamped I cut them all out.
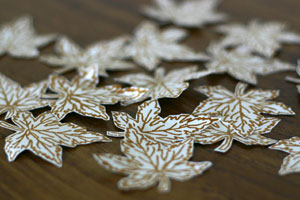
Then I coloured them with some metallic rubons from Craf-T. Any colouring agent will work, the idea is just to get a base colour while the Tyvek is still flat.
Once the base colour was applied, it was time to heat the tyvek. There are various ways to do this including using a heat gun or an iron. I usually opt for the iron. I use somewhere between a cotton and a wool setting, place the Tyvek image side down, place a piece of parchment over the Tyvek and hover the iron over the Tyvek so I’m as close as possible without actually putting weight on it. One note — once Tyvek starts to shrink it does so very quickly.
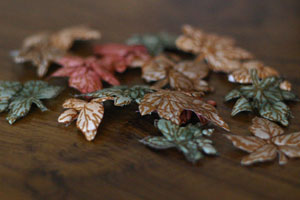
This is the pile after they were heated:
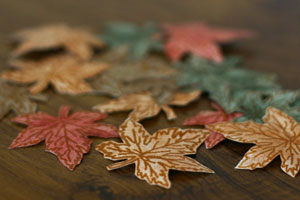
Finally, I applied additional colour to each leaf. In this case I used stamping ink, but again, any colouring agent will work. This shows the before and after:
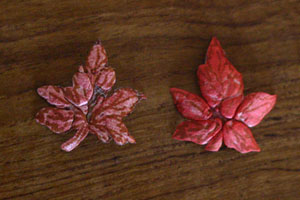
Now I have a bunch of leaves to add to my pages. :)